Link :https://www.howtoforge.com/tutorial/seafile-ubuntu-14-04/
List of dependencies as described
- Java Runtime Environment (JRE)
- Poppler-utils
- Libreoffice 4.1+ and Python-uno
- libpython 2.7
Run the following command as root user to install the required software:
apt-get install openjdk-7-jre poppler-utils libreoffice libreoffice-script-provider-python libpython2.7 python-pip mysql-server python-setuptools python-imaging python-mysqldb python-memcache
Now I will check if the installed python version matches the requirements for Seafile:
python -V
As you see in the screenshot, the python version is 2.7.6, so it is in the range of supported python versions.

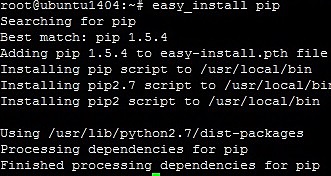
Next I will install the pip package with easy_install
easy_install pip
and the boto package
pip install boto

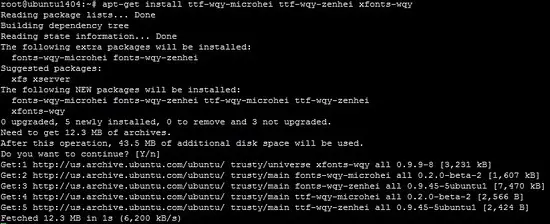
Next install some additional fonts for your language (like example WenQuanYi, if we gonna use chinese)
apt-get install ttf-wqy-microhei ttf-wqy-zenhei xfonts-wqy
Installing Seafile with MySQL
First you need to verify the if your system is a 32 bit or 64 bit system.
uname -m

My sever is a 64Bit system.
There are two choices to use on, either 32 or 64 bit, which are both available on the Seafile download page http://seafile.com/en/download/.
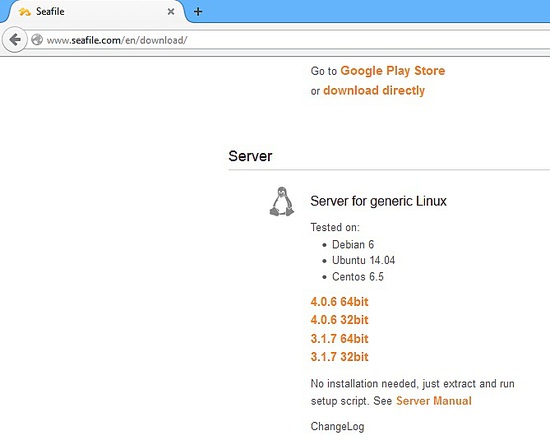
Or you may directly download on these given listed sites:
64 bit:
https://bitbucket.org/haiwen/seafile/downloads/seafile-server_4.0.6_x86-64.tar.gz
32 bit:
https://bitbucket.org/haiwen/seafile/downloads/seafile-server_4.0.6_i386.tar.gz
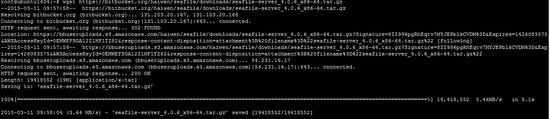
By downloading the package, you need to use wget command:
cd /tmp
wget https://bitbucket.org/haiwen/seafile/downloads/seafile-server_4.0.6_x86-64.tar.gz
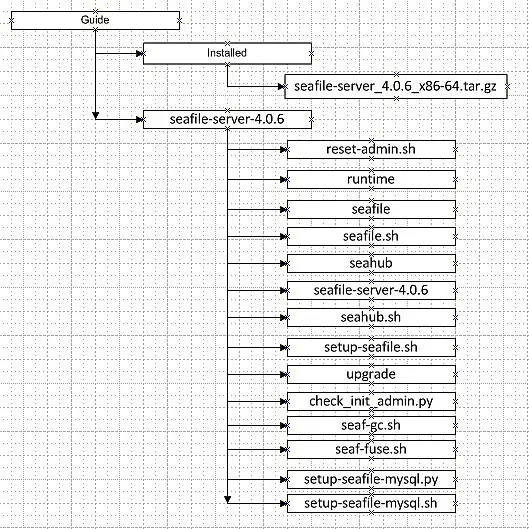
The next is, were gonna create the required directories.
First, I need to create a directory name "guide"(this is just a sample in image 1.8), and you may use any name that describes your organization.
mkdir /root/guide

Then move the file seafile-server_4.0.6_x86-64.tar.gz to a directory that we have created guide.
mv seafile-server_4.0.6_x86-64.tar.gz /root/guide/

Enter the guide directory
cd /root/guide
Once your are inside, you need to extract the file, using the command tar.
tar -xzf seafile-server_4.0.6_x86-64.tar.gz

Next create a directory installed .
mkdir installed

We may move the file seafile-server_4.0.6_x86-64.tar.gz to newly created directory installed.
mv seafile-server_4.0.6_x86-64.tar.gz installed/

As described on this directory structure for our version, everything should be in right place. Where Installed and seafile-server-4.0.6 directories, should be within the directory of Guide.
Configuring the MySQL databases
Seafile consist of 3 core components. We need to create a database for this given components.
- ccnet server
- seafile server
- seahub
Were now creating the mysql databases, account and setting permission on given databases as listed. (this is just an example you may create your own design on your database name).
Seafile Components Database name Account
ccnet server ccnet-db seafile
seafile server seafile-db seafile
seahub seahub-db seafile
Login to mysql as root user
mysql -u root -p
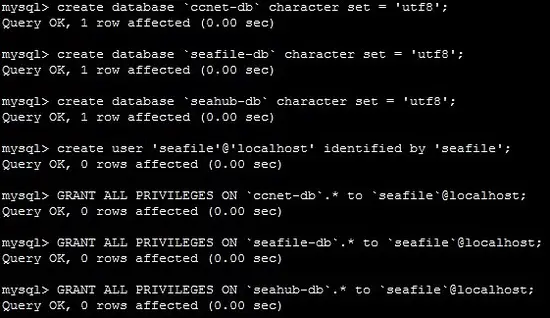
and then issue these commands in the mysql shell:
- create database `ccnet-db`character set = 'utf8';
- create database `seafile-db`character set = 'utf8';
- create database `seahub-db`character set = 'utf8';
- create user 'seafile'@'localhost' identified by 'seafile';
- GRANT ALL PRIVELIGES ON ccnet-db.* to `seafile`@localhost;
- GRANT ALL PRIVELIGES ON seafile-db.* to `seafile`@localhost;
- GRANT ALL PRIVELIGES ON seahub-db.* to `seafile`@localhost;
- FLUSH PRIVILEGES;
Now were finish on creating databases, our next is configure seafile to point on these databases that we have created.
Setting Up Seafile Server
Required Packages:
- python 2.7
- python-setuptools
- python-imaging
- python-mysqldb
By using this command: (to verify if its already installed)
apt-get install python2.7 python-setuptools python-imaging python-mysqldb

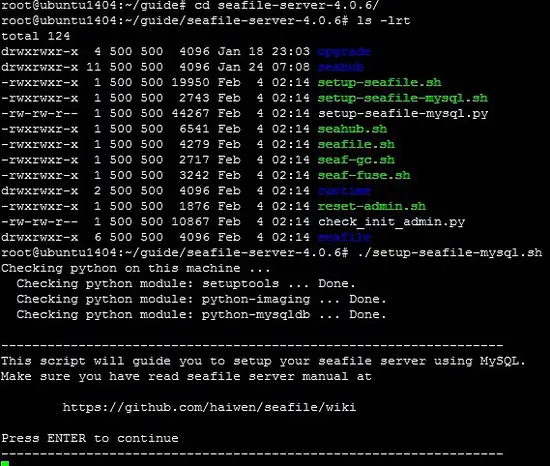
Next is you need to install the seafile server. Go to directory seafile-server-4.0.6 then run the script setup-seafile-mysql.sh.
cd seafile-server-4.0.6
ls -lrt
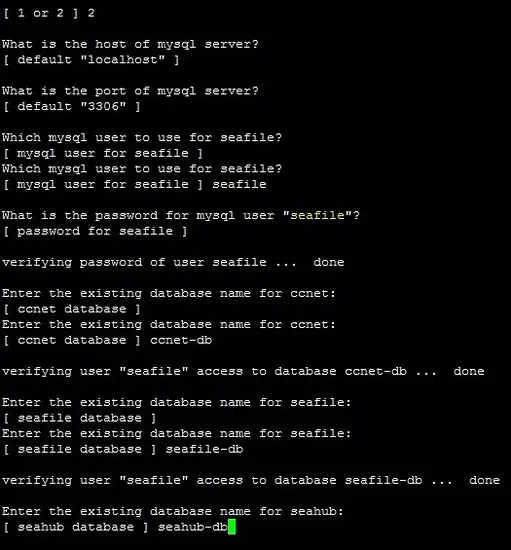
./setup-seafile-mysql.sh
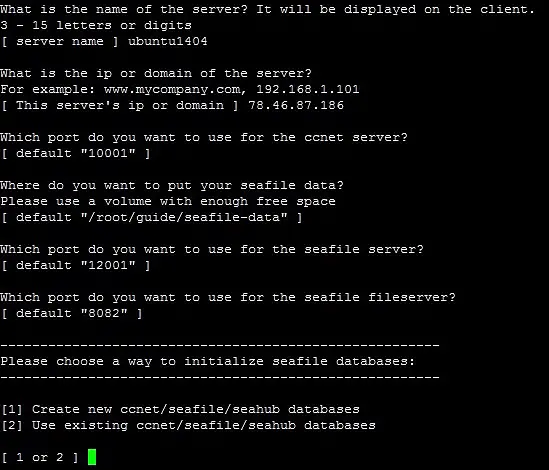
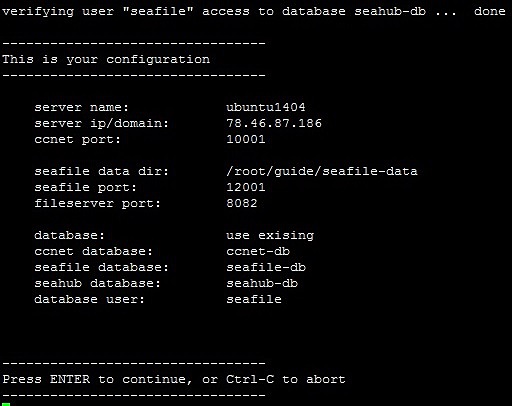
You need to complete the questions on this next procedure.

Starting Seafile Server
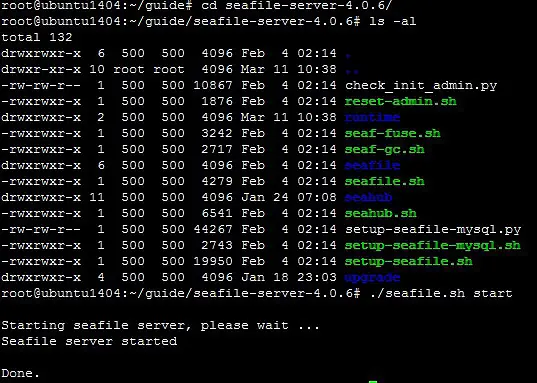
On starting service seafile, you need to go to directory seafile-server-4.0.6. then run as given on image.
cd /root/guide/seafile-server-4.0.6
ls -al
./seafile.sh start
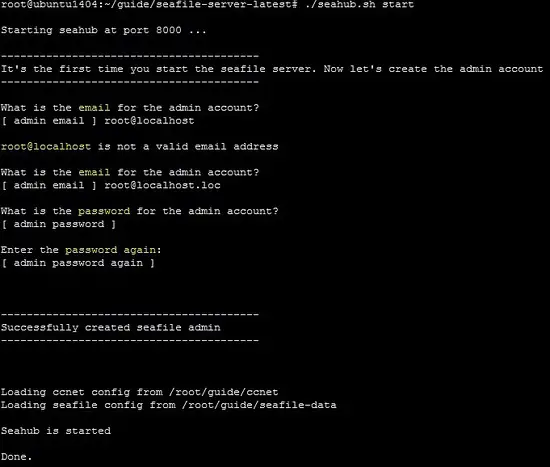
Then on starting seahub. the default port is 8000.
./seahub.sh start
To access the site using any browser you have, enter in address bar.
http://192.168.0.100:8000/
On this image you will see the sample web access. Using the admin account you have entered in Image 1.22, you need to enter the Email and Password.

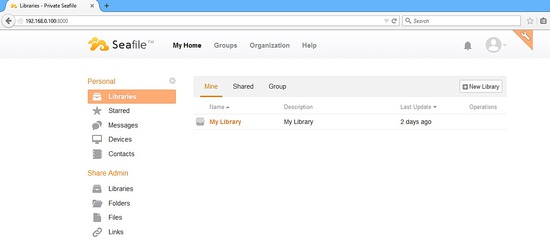
Once you login, you will see seafile web admin page.

Comments
Post a Comment